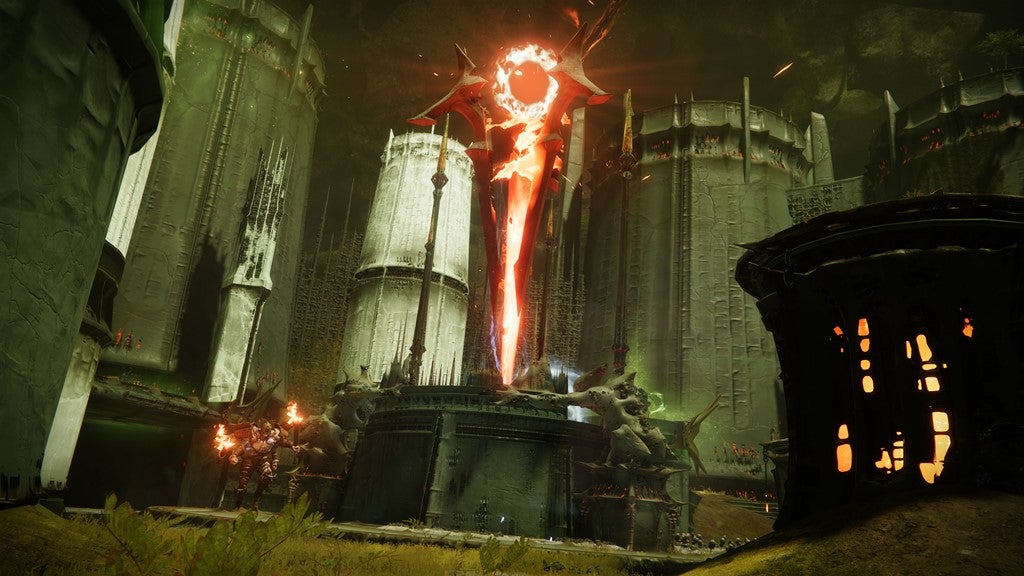
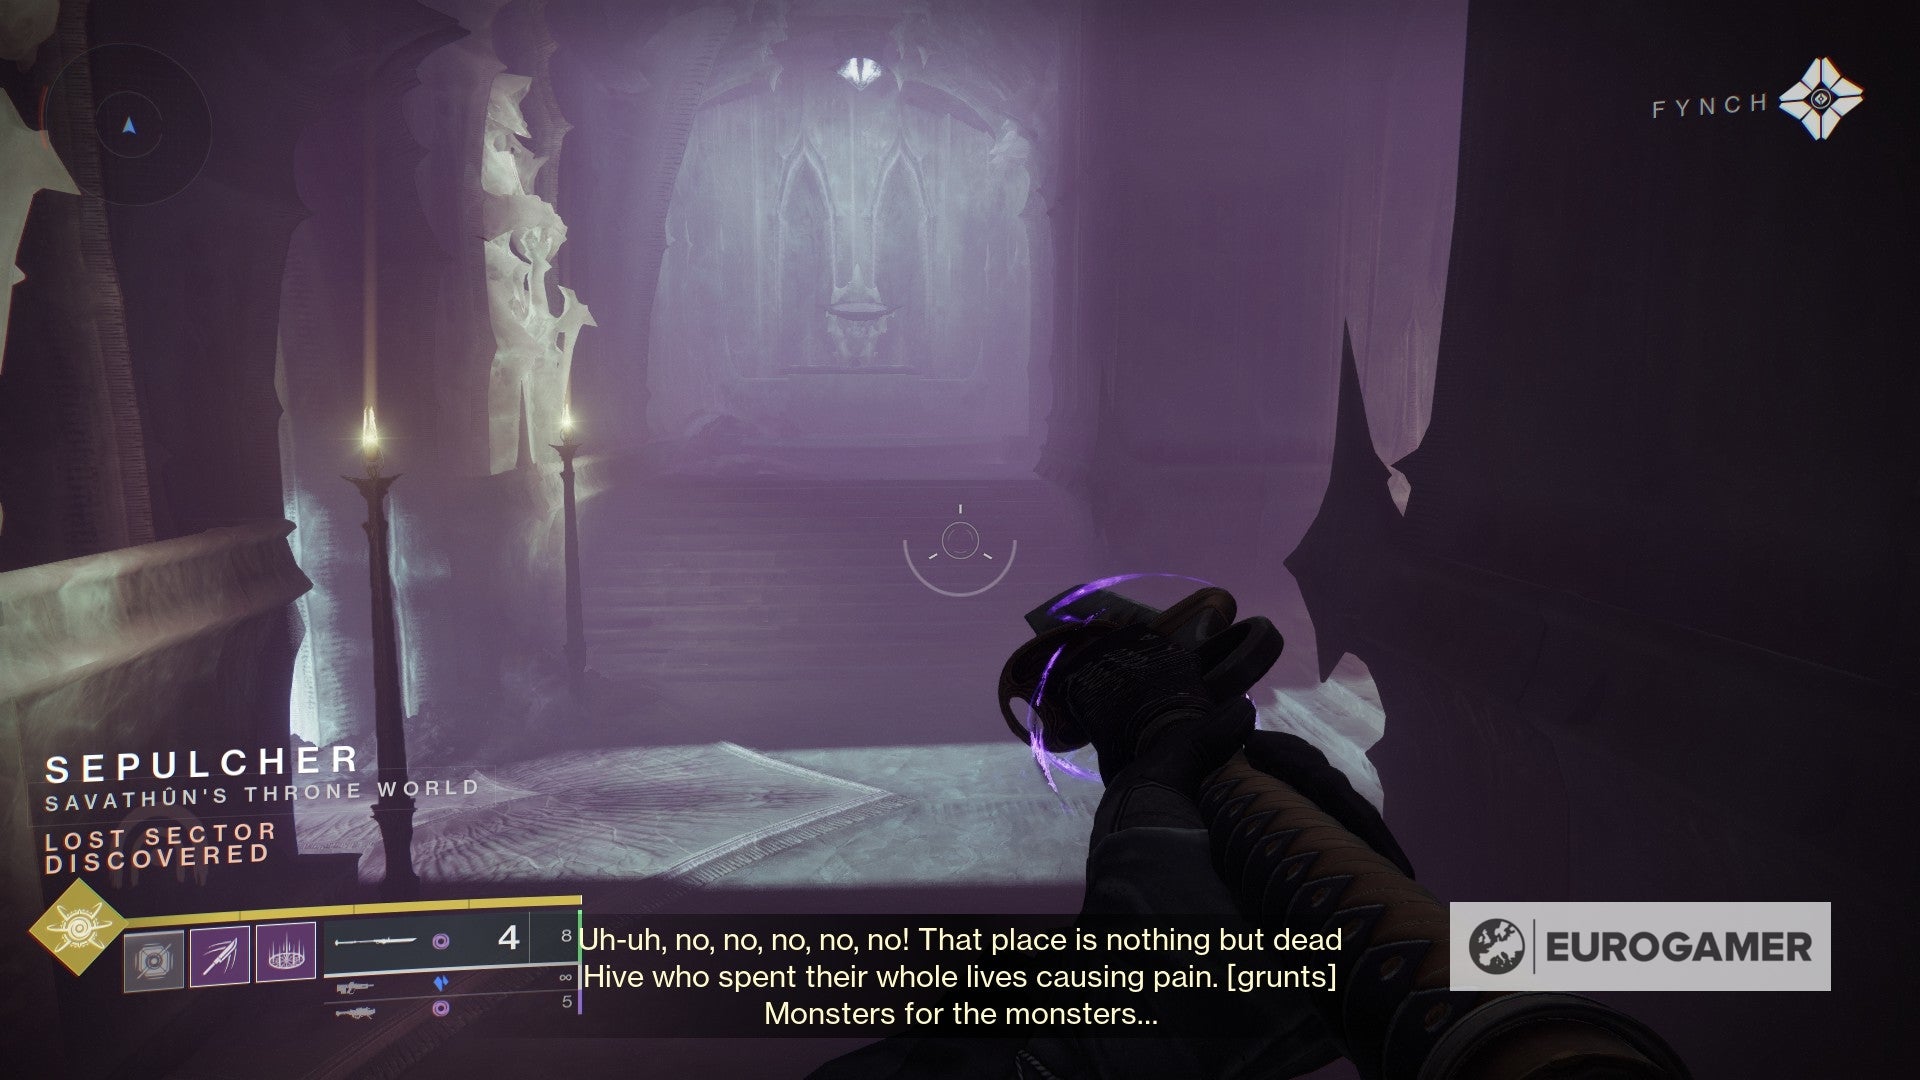
The quest to unlock Parasite comes once you complete the campaign, and even then, there is a lengthy set of steps yet to go. The journey to the Parasite Exotic takes you to some of the expansion’s most dangerous places, so if you cheesed your way through the final campaign battle, make sure to grind your power level to at least 1520 or thereabouts. Your reward is a massively powerful weapon with exploding worms as its ammunition, so it’s worth the effort. On this page: With that done, the Parasite is finally yours! Now to go through every step in more detail… The one you want has you seek out Mara Sov, who’s in the chamber behind the Relic in the weapon crafting room. After your conversation ends, you’ll unlock a new Strike: Birthplace of the Vile. Step 2: Complete Birthplace of the Vile Open the Throne World map, and you’ll see the Birthplace of the Vile Strike banner in the northwest corner. It’s a lengthy, but straightforward, gauntlet pitting you against waves of foes as you push through to The Dark City. It culminates in a battle against Heimiks, Warden of the Harvester. This is also a straightforward fight in a no-frills arena. Instead of Heimiks generating shields when you deplete a portion of their health bar, you’re sent to a dark dimension and must continue moving forward to reach the boss arena again. Step 3: Speak with Fynch Go back to Mars, and speak with Fynch to unlock the next step. Step 4: Locate a Cryptoglyph Rune within the Temple of Cunning This next step is a lengthy one, but it’s almost entirely based around traversal. Place a waypoint marker on the quest area before you start to make finding the objective easier. The first leg of the quest takes you back underground, following the routes you took during The Ghost campaign quest northwest of Quagmire. After passing through the first cavern with Hive Membranes, you’ll emerge into the chamber where you fought a wave of Scorn before. Instead of turning left, go to the back of the chamber, and hop through the golden portal. Now it’s just a matter of continuing to move forward until you reach the final chamber. There’s no need to stop and fight along the way, so just keep pushing ahead. You’ll face a horde of enemies and a Hive Guardian boss, and the Rune appears after you defeat the boss. If useful, here’s Esoterickk on YouTube with where to go: Step 5: Defeat 100 Scorn in the Throne World Scorn spawn almost everywhere in the Throne World, but you can find them in greater numbers in the Miasma region and the Extraction Lost Sector. Steps 6 and 7: Find and complete the Sepulcher Lost Sector Step 6 just leads you to the Lost Sector entrance of Sepulcher. The next task is completing it, which is more difficult than it sounds considering the recommended power level is 1520. You’ll face off against two Hive Guardians and a host of Hive along the way. At the end, interact with the Deepsight point to reveal a platform over the statue. Climb up there, and you’ll find an incubator in the chamber behind it. Step 8: Complete three Patrols in Fluorescent Canal You can just complete the same one three times, so find a quick one and get this step out of the way. Step 9: Find a Cryptoglyph Rune in Queen’s Bailey Track the quest as you did for the first Cryptoglyph Rune. Make your way to the queen’s gardens, and don’t stop unless you have to. Defeat the Hive horde at the end to obtain the new Rune. Here’s FrigidShark on YouTube for where to go: Steps 10 and 11: Find and complete the Metamorphosis Lost Sector This is essentially the same as steps six and seven. Metamorphosis in the Miasma region is a bit trickier to find, though we’ve detailed where to look in our Lost Sector guide. Clear the Hive and defeat the two Hive Guardians, then interact with the Deepsight orb to reveal a path to the incubator. Step 12: Find a Cryptoglyph Rune in Alluring Curtain Track the quest as usual, and follow the marker until you reach the end of a balcony outside Savathun’s palace. This Rune quest takes a bit more time. It requires more platforming and revealing paths forward using Deepsight, so while your way forward is still just a straight path, you’ll often need to stop and clear out enemies to make it easier. Here is a video by EterityinGaming on YouTube for the specific location and method: The locations can be seen in the following video by MeUnboxing on YouTube: Steps 14 and 15: Find and complete the Extraction Lost Sector You know what to do by this point. Clear out the Hive and Hive Guardians in Extraction, find the incubator behind the statue, and move on to the next step. Step 16: Speak with Fynch Find Fynch again, and unlock a new activity: Parasitic Pilgrimage. It’s December, which means the return of The Dawning and Moments of Triumph 2022! Elsewhere, the Season of the Seraph is here alongside More than a Weapon, Seraph Key Codes and Resonate Stems and the addition of Rose in Crucible. We’ve also seen a new dungeon, Spire of the Watcher, with has a chance of Hierarchy of Needs dropping upon completion. Earliear this year we had the arrival of King’s Fall and King’s Fall challenges, plus weapons including Doom of Chelchis and Touch of Malice. For The Witch Queen, learn how to get Dead Messenger and Parasite. Again, here’s Esoterickk on YouTube to show how it’s done: Keep Savathun’s Worm Alive The first phase has you carry Savathun’s worm and collect pools of Hive Energy along the way. The first eight or so pools are easy to collect, but as you approach the Court of Thorns, you’re beset by waves of Exploding Thrall and must navigate around obstacles that instantly kill you if you come in contact with them. Locate Sources of Hive Light Follow the marker out of the Court and into a hallway. Activate the Deepsight node, then shoot the swinging object above you to open the way forward. Hop through the portal at the end to activate the next step. Steal Hive Light No one-hit-kill traps this time. Instead, you’re led to three sets of concentrated Hive Light and swarms of Thrall and strong enemies. The Hive Light is surrounded by an energy cage. Shoot the crystals in the rooms with the Light to deactivate the cage, and move on to the next. Begin and Complete the Worm Ritual The next step is more straightforward. Follow the marker to the open area where you fought a Goliath Tank during the Ghost mission, and fend off waves of Scorn while the worm ritual plays out. Take the Worm to Mara Sov Cimb up the temple as you did before, and speak with Mara Sov inside. Now, you can finally claim the Parasite Exotic grenade launcher. The last step involves using it to fend off more Scorn while she completes the ritual, and you get an important piece of lore afterwards.