This is one of the longest and most complex missions players can encounter in Destiny 2. It’s rife with powerful rewards, unique weapons, and deep mechanics. Be ready to invest preparation and planning before heading in - as well as learning how to get your hands on some bonus loot. Below you’ll learn how to start the King Fall’s raid, including how to navigate the pendulums and Tomb Ships, in Destiny 2. On this page:
How to complete the Basilica Totem section of King’s Fall, including Annihilator Totems, Brand of the Unraveler and Deathsinger’s Power How to defeat the Warpriest using the Tombstones to shield your team from the Oculus light How to defeat Golgoroth and find a secret chest in King’s Fall How to traverse the Transpect and defeat the Daughters of Oryx in King’s Fall Oryx boss battle strategy in the King’s Fall raid
Each encounter will drop raid-specific loot, including Doom of Chelchis and, if you are lucky on the final encounter, the return of Touch of Malice. Additionally, each encounter from Totums onwards rotates between a different King’s Fall Challenge each week, giving you bonus rewards. If you want to learn how to start the King’s Fall raid, as well as earn bonus loot, then read below… It’s December, which means the return of The Dawning and Moments of Triumph 2022! Elsewhere, the Season of the Seraph is here alongside More than a Weapon, Seraph Key Codes and Resonate Stems and the addition of Rose in Crucible. We’ve also seen a new dungeon, Spire of the Watcher, with has a chance of Hierarchy of Needs dropping upon completion. Earliear this year we had the arrival of King’s Fall and King’s Fall challenges, plus weapons including Doom of Chelchis and Touch of Malice. For The Witch Queen, learn how to get Dead Messenger and Parasite.
Destiny 2 King’s Fall ‘red chest’ symbol locations
Before you begin, it’s worth knowing there is a bonus ‘red border’ chest you can unlock at the end of the raid. The requirements are simple on paper - you have to run the raid in a single session, and shoot three symbols throughout the raid - but in practice, requires you to remember these symbols and know their locations. The following infographic - via @hex_cody on Twitter - offers a useful at-a-glance overview: There is also an additional resource that makes this even clearer, by inputting the symbols you see to be told exactly which areas of the raid you then need to focus on, thanks to this website by kapowaz on reddit. If you are successful, then you’ll earn an extra chest at the end of the final Oryx encounter, with a weapon with a Deepsight Resonance ‘red border’, which unlocks progress towards crafting that weapon.
Organizing your team for King’s Fall
Coordination is key for any raid, so make sure your squad is able to communicate effectively. There will be phases that are heavy with add clear, and others that will test your ability to deal Damage Per Second (DPS). Make sure you bring weapons that are suited to both. The only shields you will encounter will be solar, so it may be advantageous to bring weapons that will crack those easily. Linear fusion rifles are good choices for boss damage, and having at least one Divinity will significantly boost DPS. Once your squad is ready and properly equipped, open up the Director. Select the Legends area, and launch King’s Fall.
How to start King’s Fall raid
The first encounter is largely unchanged from the Destiny 1 version of King’s Fall. Your goal is to collect orbs of light, and deliver them in groups of two to the statues in the central corridor. Every time an orb is collected, taken barriers will block some doorways. These must be shot in order to be reopened. Once all six of the statues have their orbs, a portal will open, and your team can move on to the next encounter. First, divide into teams of two, one on the left side of the room, the other on the right. Each team will have the following roles:
Orb Collection Escorts Clearers
As soon as the Orb Collectors grab the first orbs, a barrier will block the central hallway, and adds will spawn in. You can’t carry an orb and shoot, so it will be up to the Escorts and Clearers to shoot the barrier open and deal with any enemies. The Collectors will each have a timer while they carry the orb. Once it reaches zero the orb will despawn, and will need to be collected again. They must each deposit their orbs in the illuminated statue within five seconds of one another. Once the deposits are made, they can collect another set of orbs each from their respective sides, while the Escorts protect them and the Clearers keep doors open and enemies in check. Every time the orbs are successfully deposited, the next set of orbs will spawn further away down the hallways on the left and right side. After six sets of orbs are deposited, a portal straight down the central corridor opens up, and enemies spawn around it. Fight your way into the portal, and you are sent into Oryx’s throneworld. The opening chapter is complete.
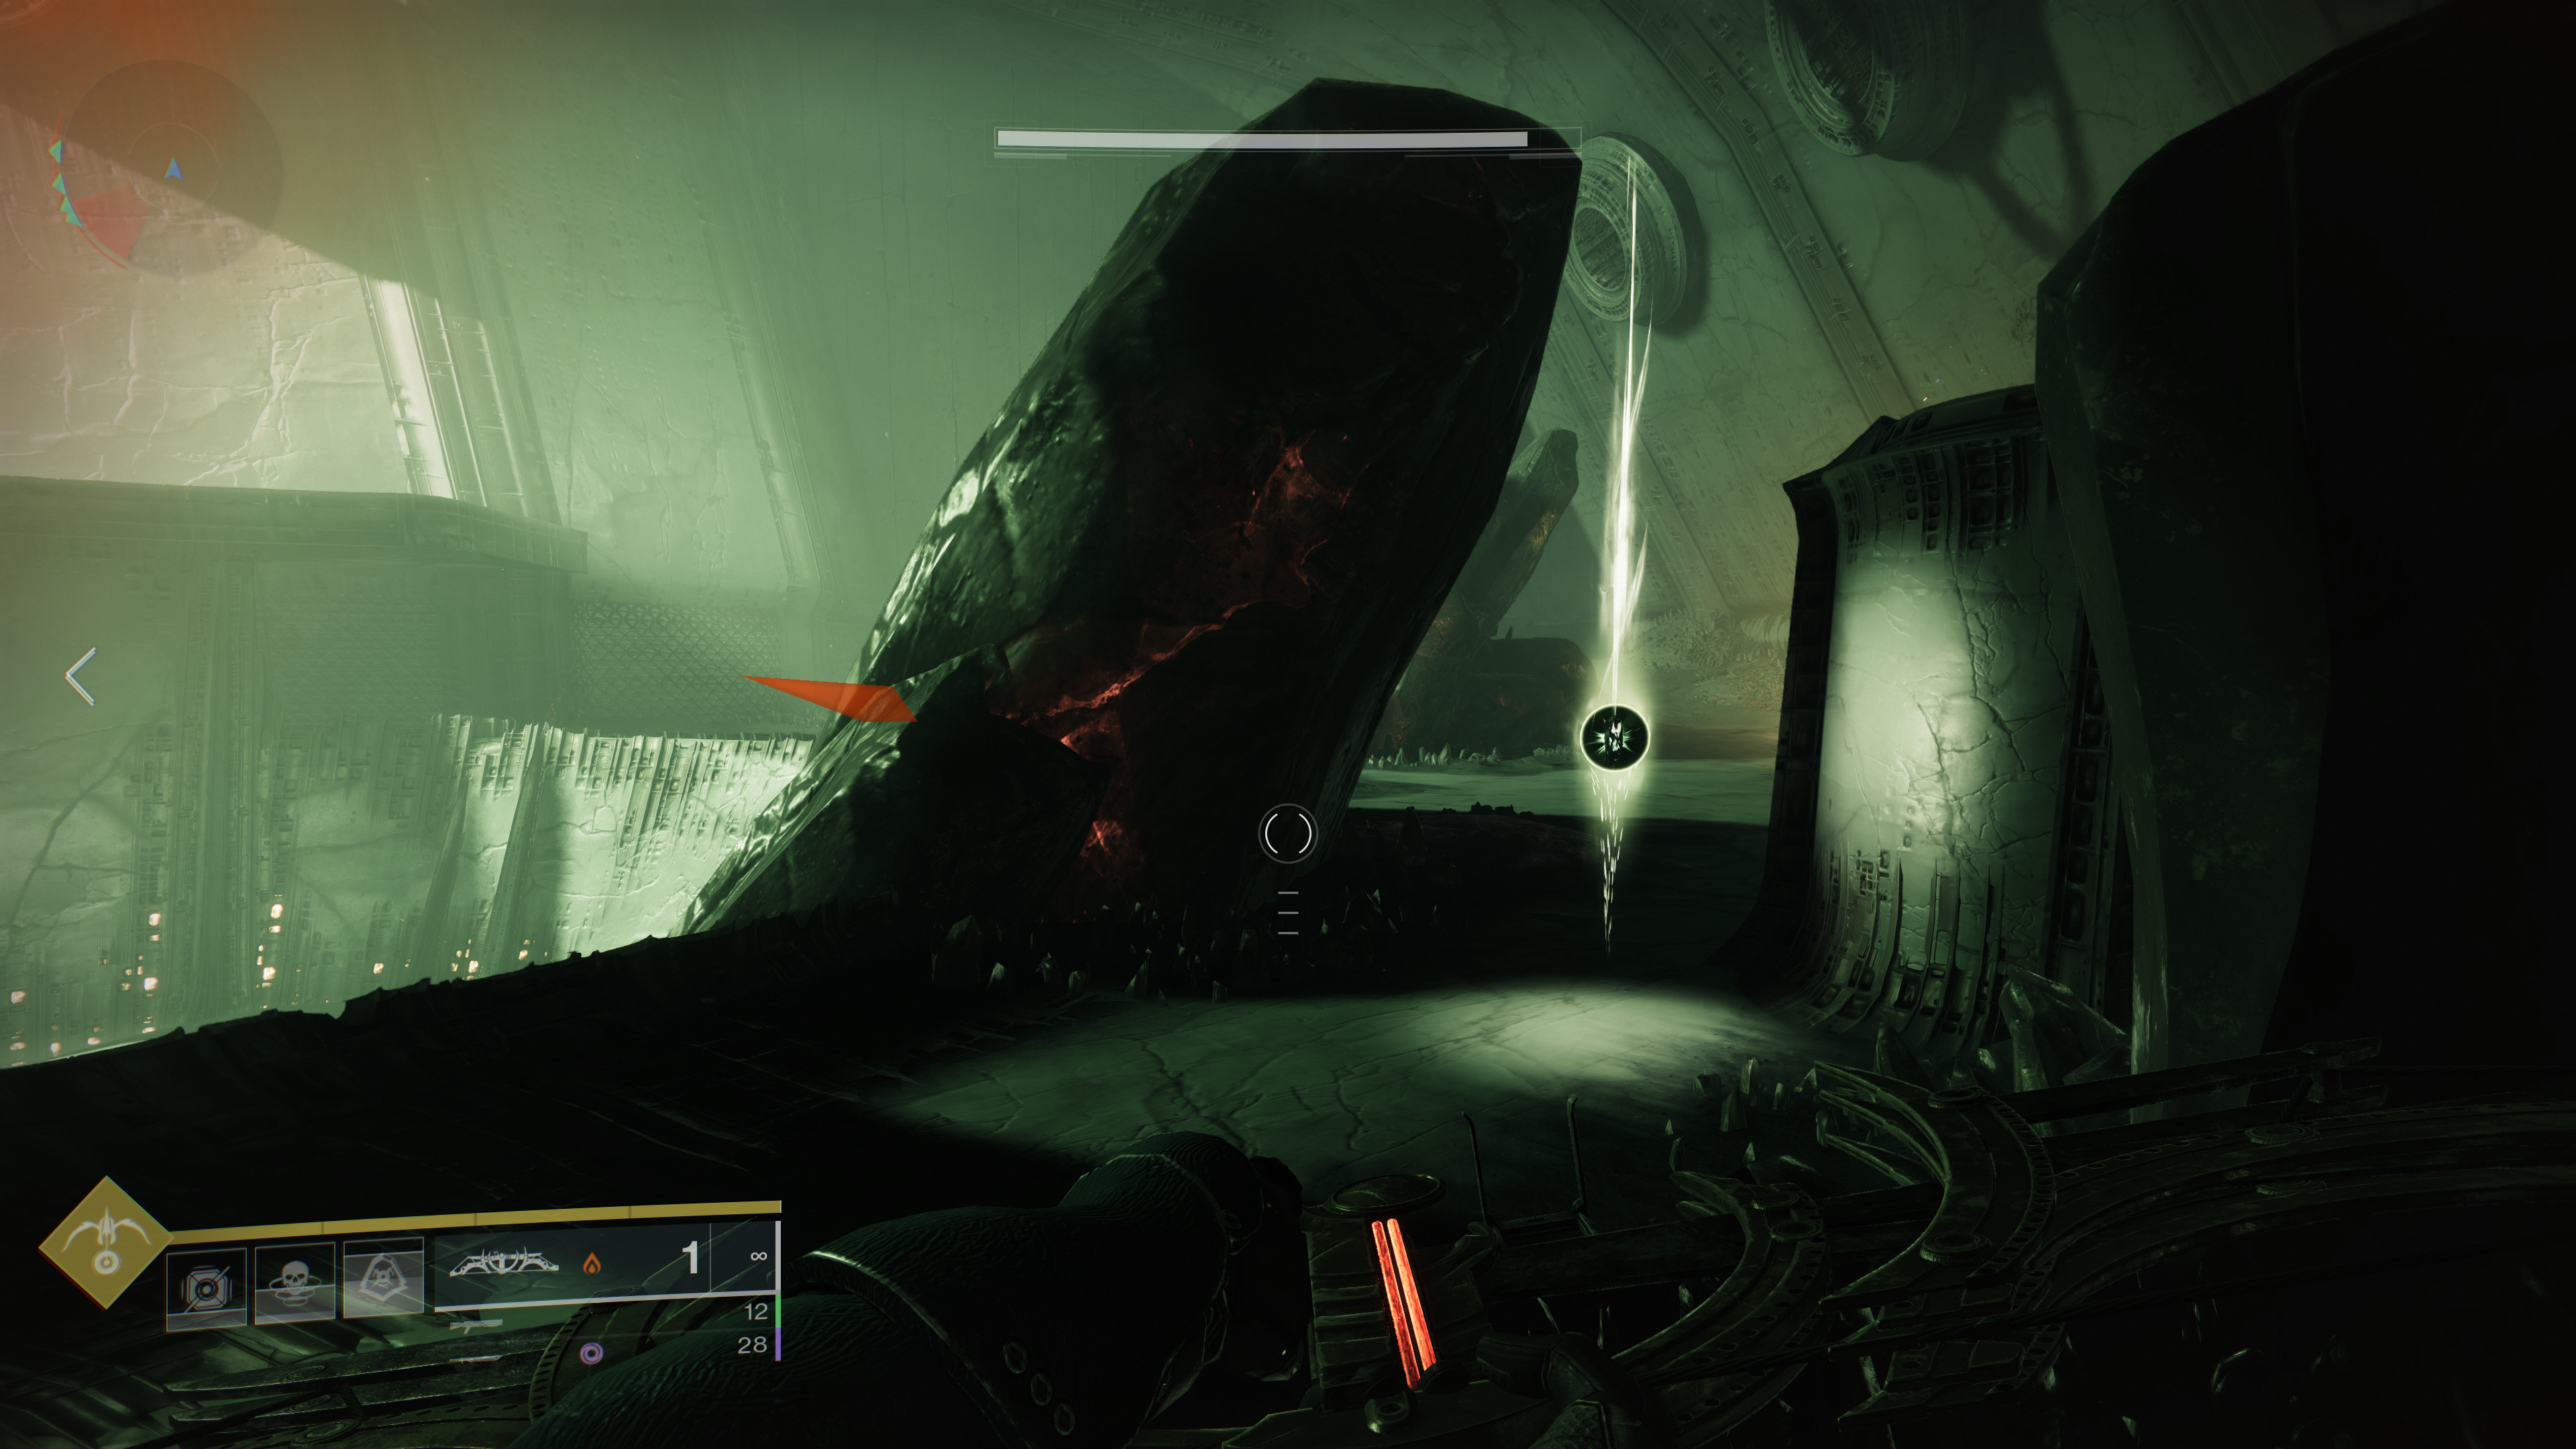
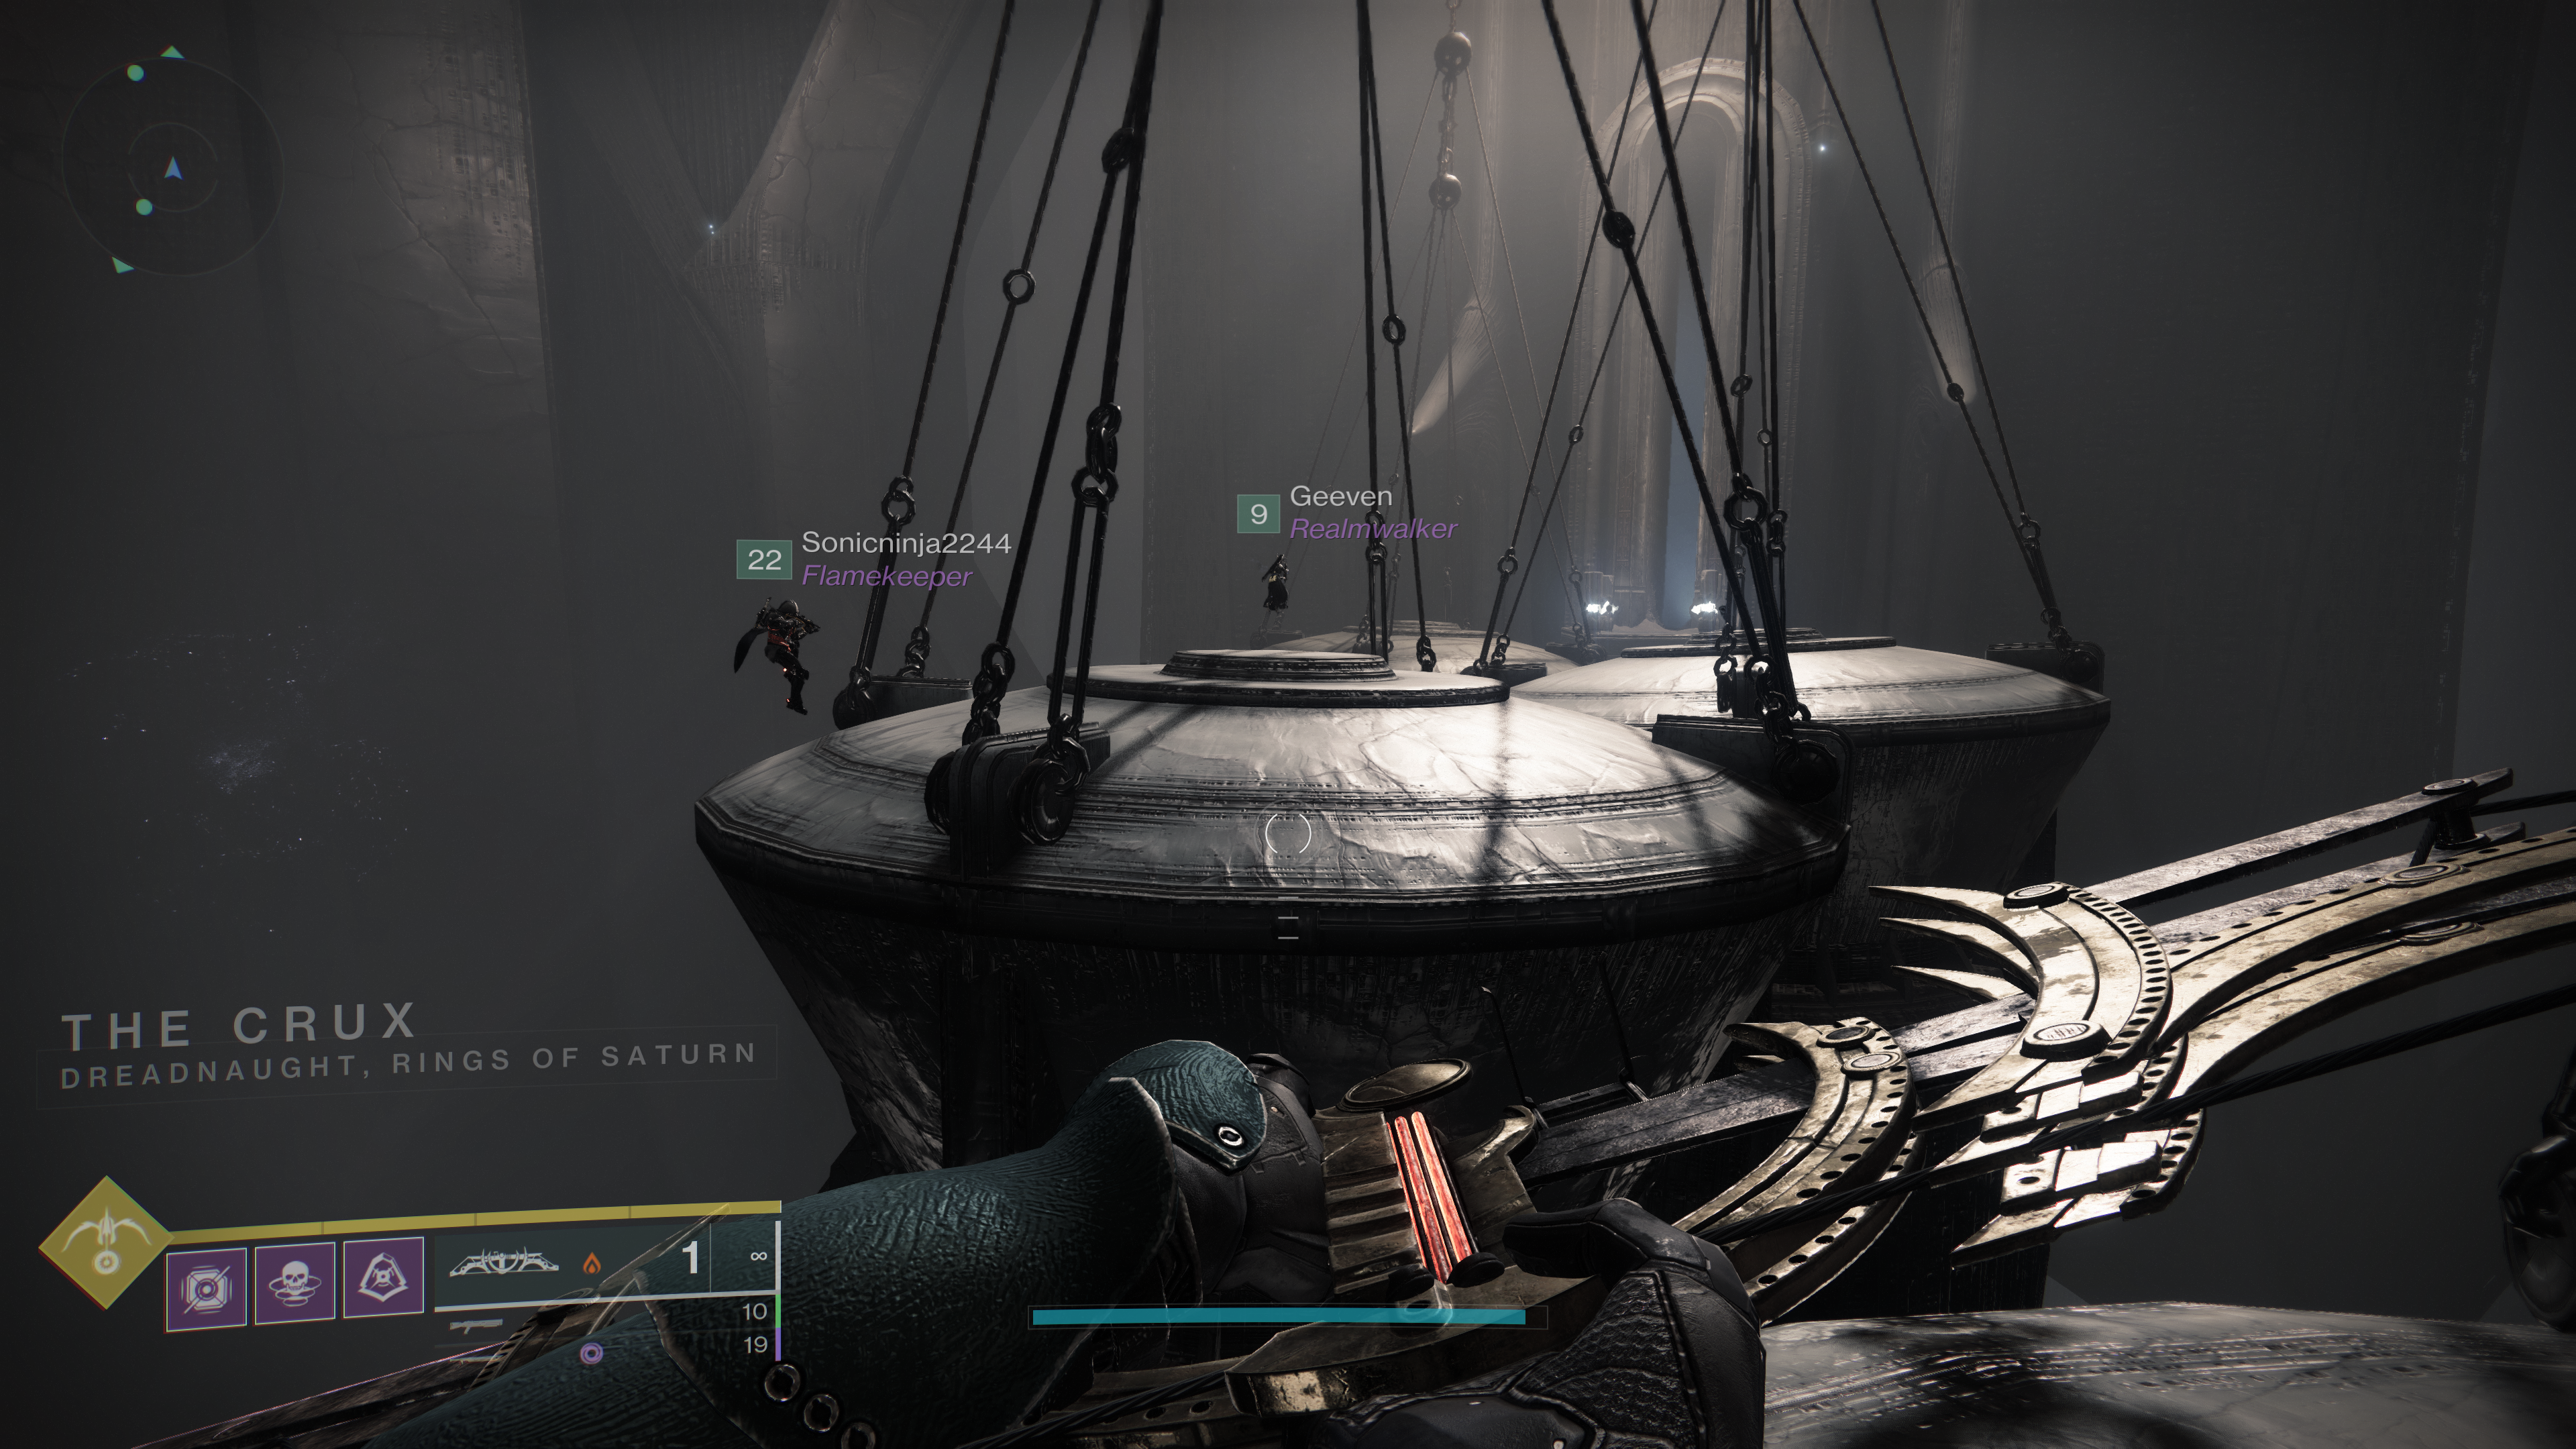
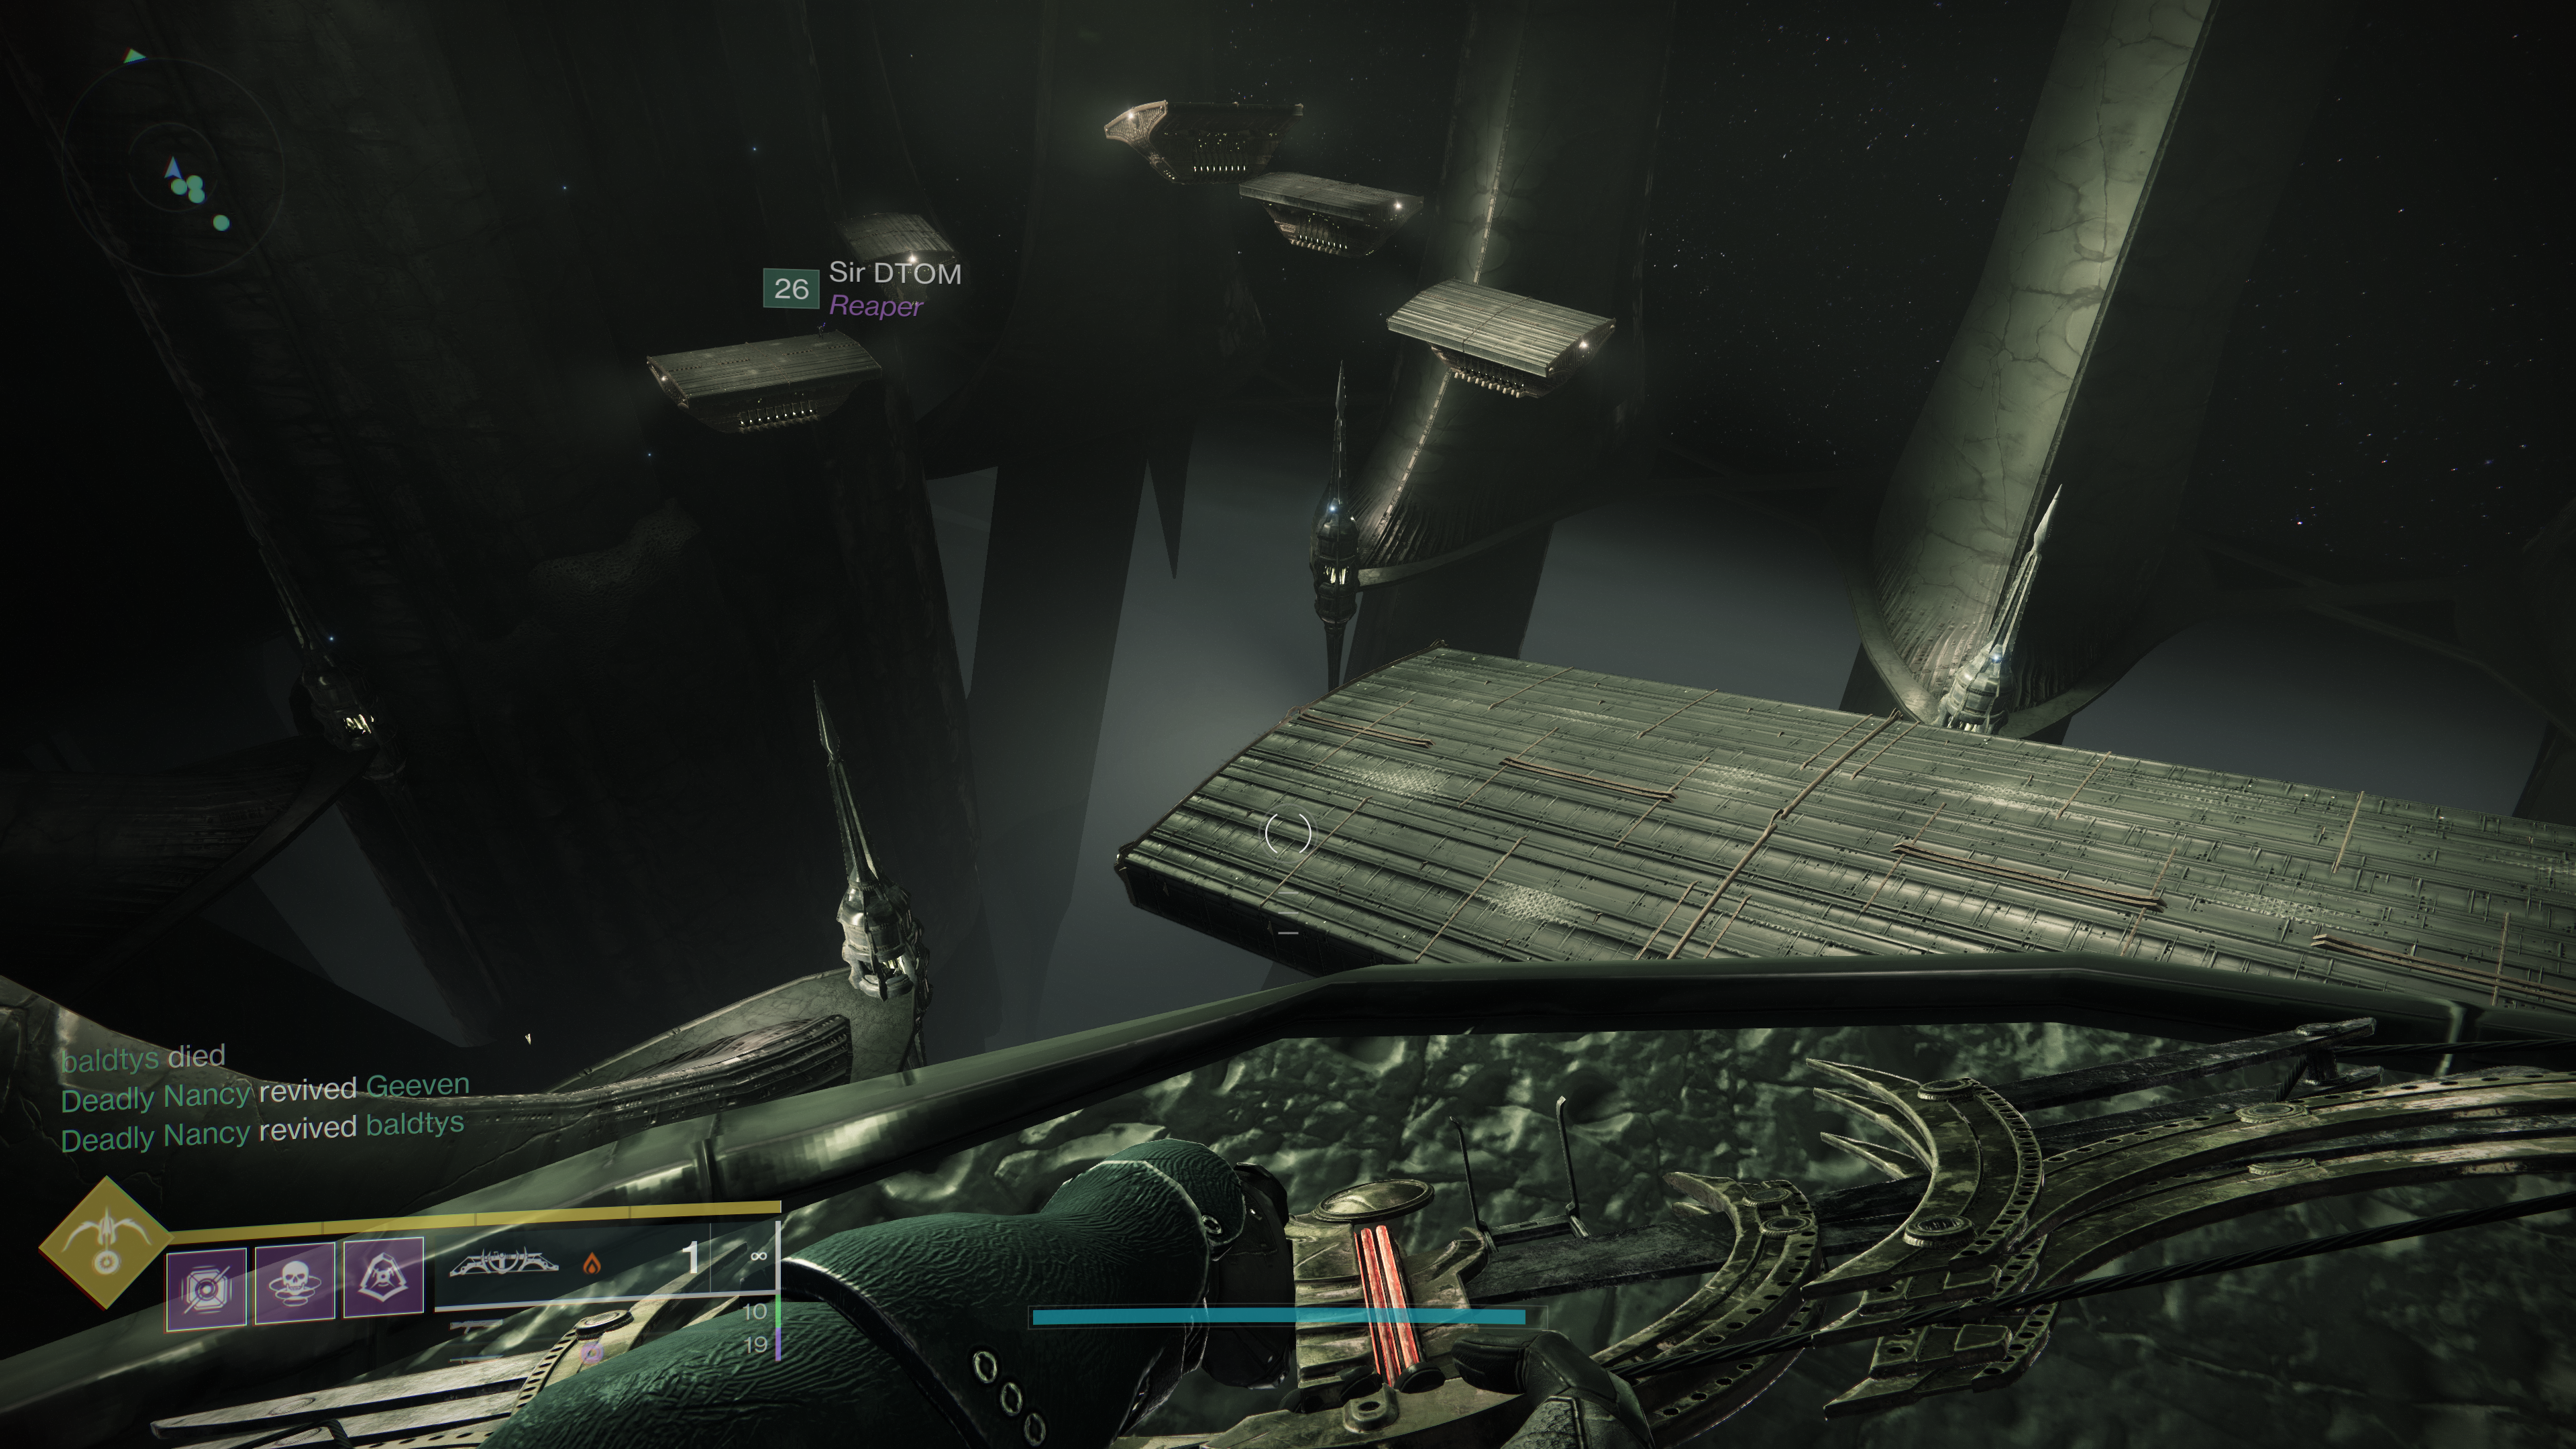
Navigating the pendulums and Tomb Ships
This is the first of two jumping puzzles, with only a small firefight at the end to look forward to. Immediately after exiting the portal, there’s a room with colossal swinging canisters to jump onto. You’ll likely make it across these the first time, but you’ll respawn quickly if you fail. The next area is much trickier though, consisting of a huge cavern with Hive Tomb Ships patrolling a set route, carrying you to a distant launch pad. After leaping onto the first ship from the starting platform, the idea is to hop onto a series of incoming ships at the moment that your present ride vanishes. It is essential to have your subclass agility set to its highest, with maximum height, and to know how your subclass jumping capability works - triple jump, for example. The first batch of ships appears as follows:
Behind and to the right To the right and in front Below and to the left
This takes you halfway to your destination, and a checkpoint. After hopping down for the first ship, the second batch of ships appears as follows:
Slightly below and to the left Duck beneath the next ship along Straight in front from the right, requiring a pre-emptive jump as high as you can go Ahead and slightly above Above and to the left Below and to the left
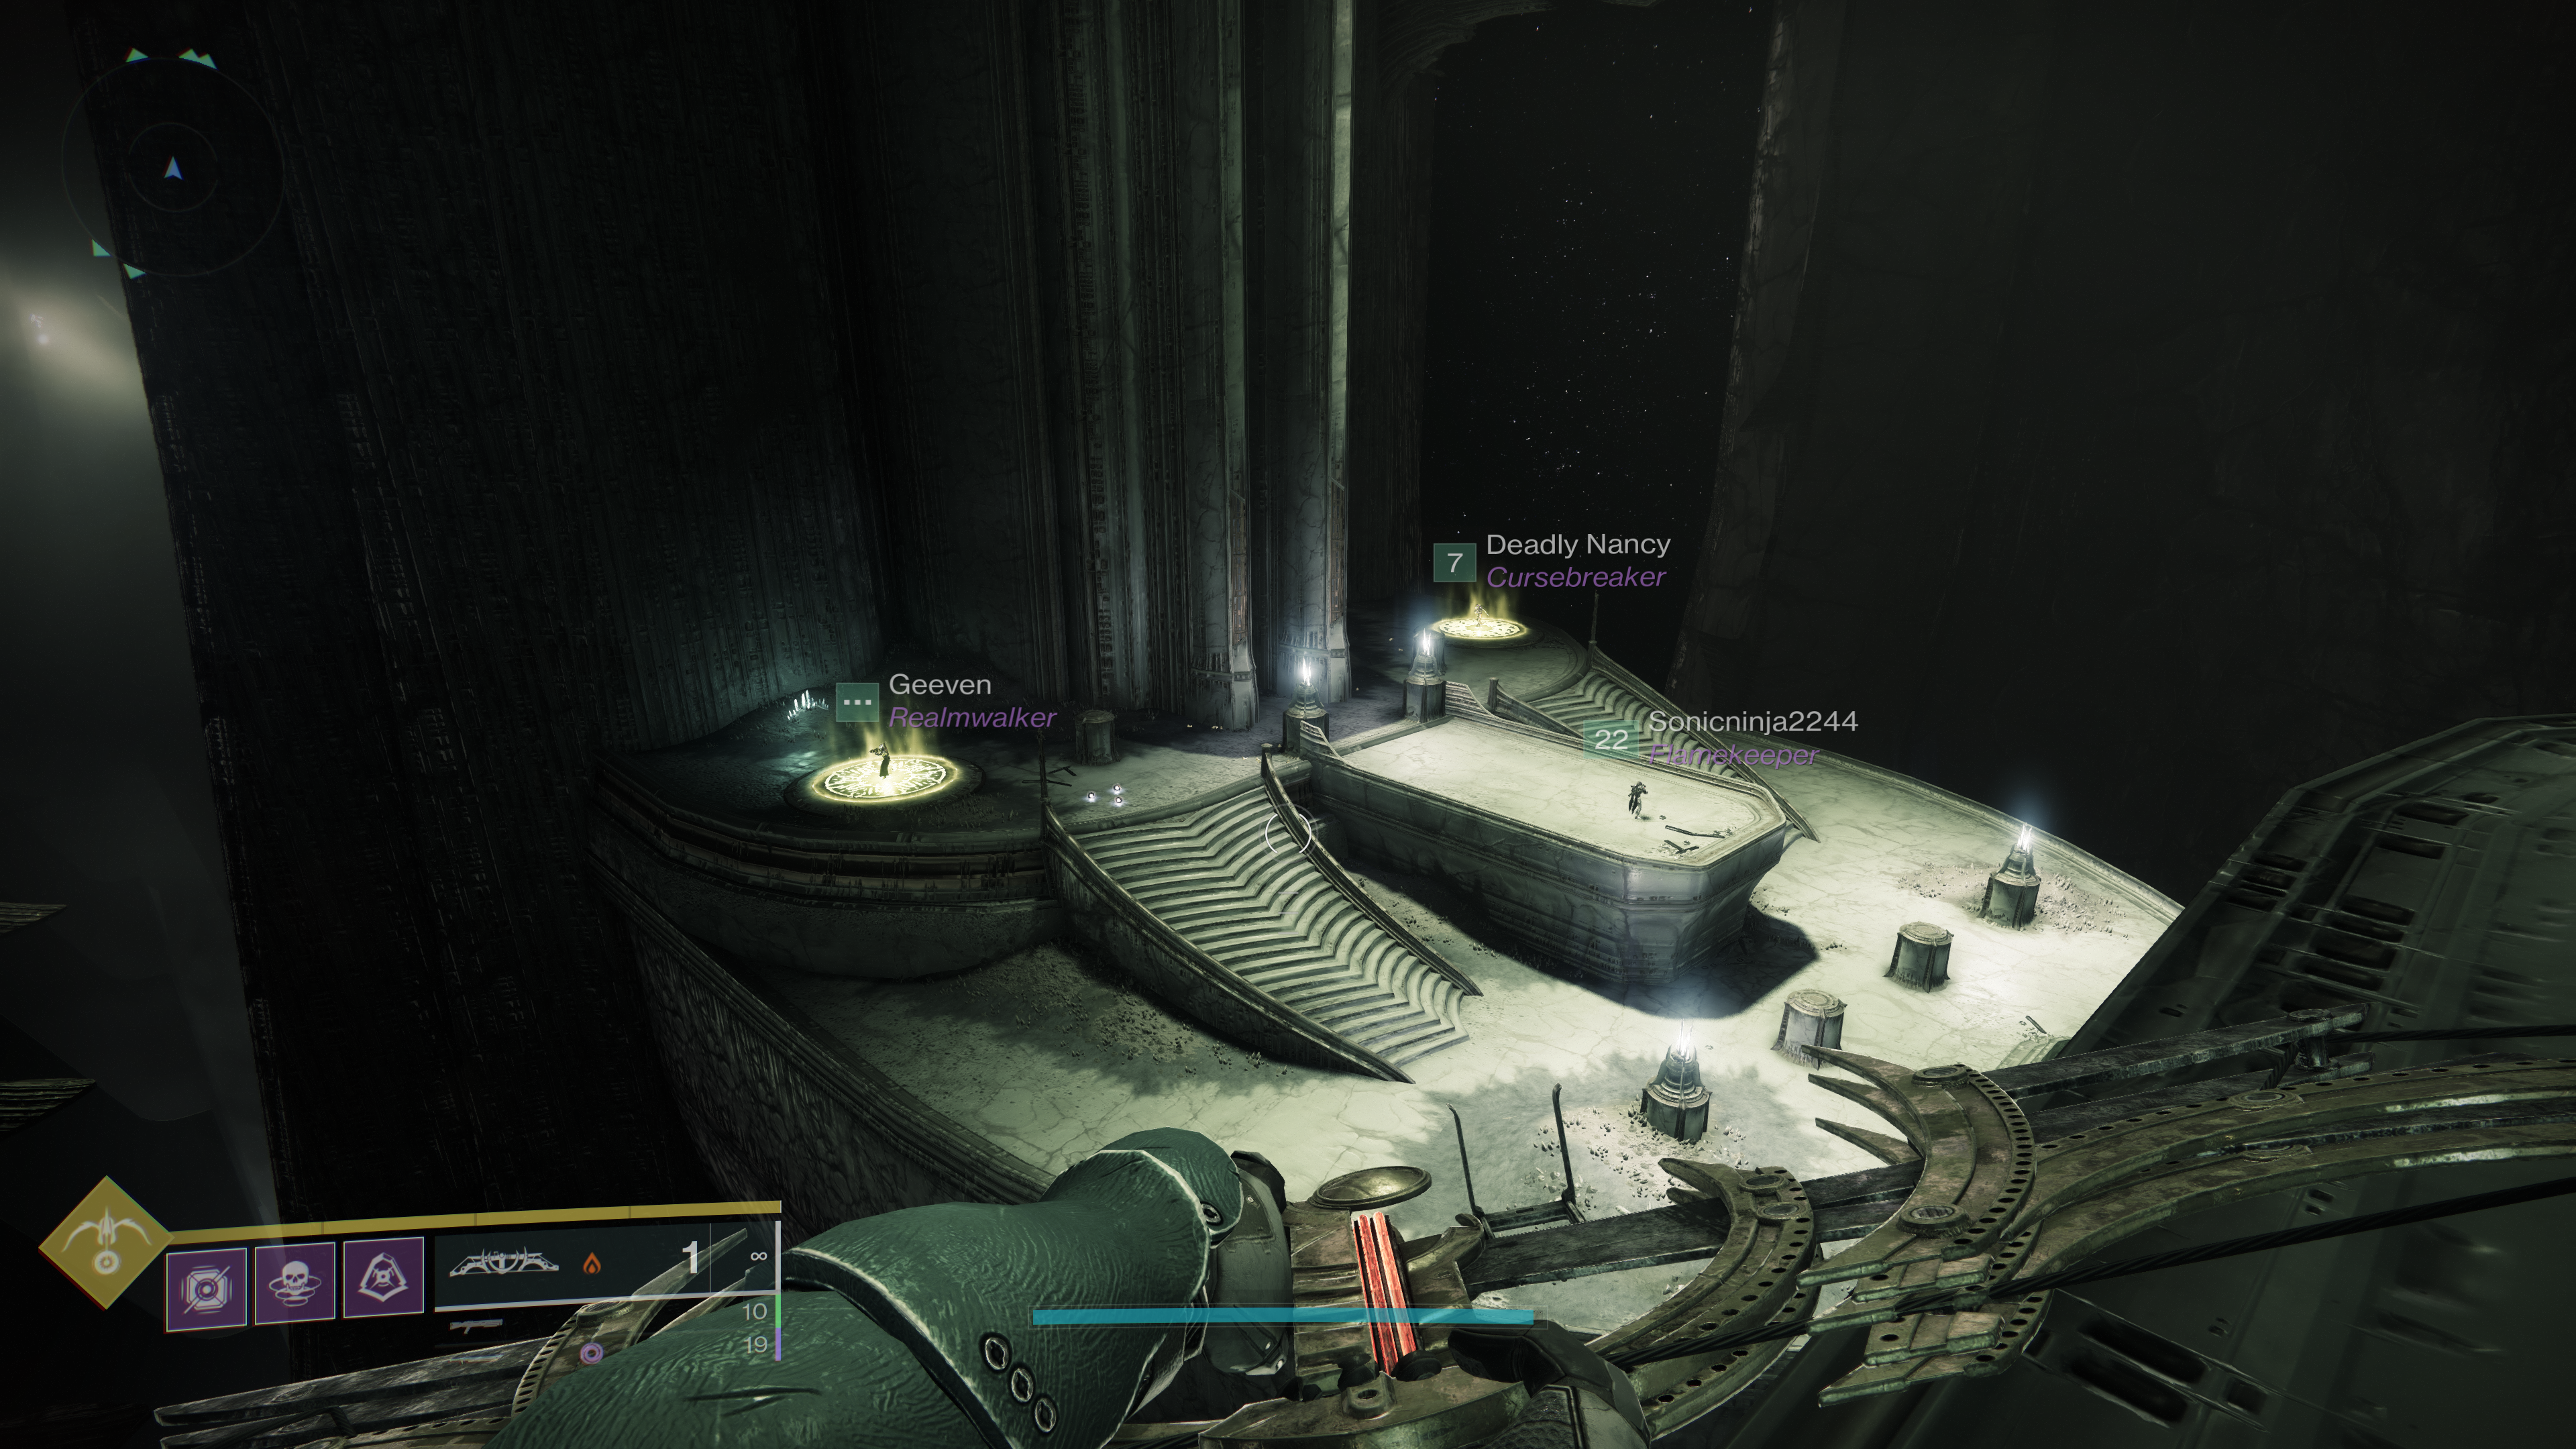
This final ship takes you to the docking station, and soon your way out. This next puzzle requires the team to clear the docking area of adds before nominating two guys to hold down pressure plates situated left and right of the platform - these open the portal seen ahead. The remaining players ride the ship to its destination, killing adds before stepping on similar pressure plates allowing the two stragglers to take their ride and rejoin the group. The next part of our King’s Fall guide explains how to complete the Basilica section of the raid.